Use Custom Fields in Surveys and Widgets
You can now use custom fields in your surveys (new) and as a filtering aid in widgets.
If you need more information on custom fields, an older post discusses the best practices and use cases for custom fields in general.
Here's what's new.
Using Custom Fields in Surveys
So far the custom fields have been available in the "old" survey builder, but now it is also available in the new editor which is the default for new users.
Using custom fields can make your surveys more personalized.
There are many different use cases for the custom fields, such as using the respondent's name, specifying products and services, or using the name of an agent who helped your customer.
Instead of using universal phrases, you can add relevancy and accuracy to the questions, like:
How would you rate your experience? ---> How would you rate the hot stone massage/car repair service/marketing consultation?
How satisfied are you with our customer service? --> How satisfied are you with our agent Carl?
Here's how to add custom fields to your surveys:
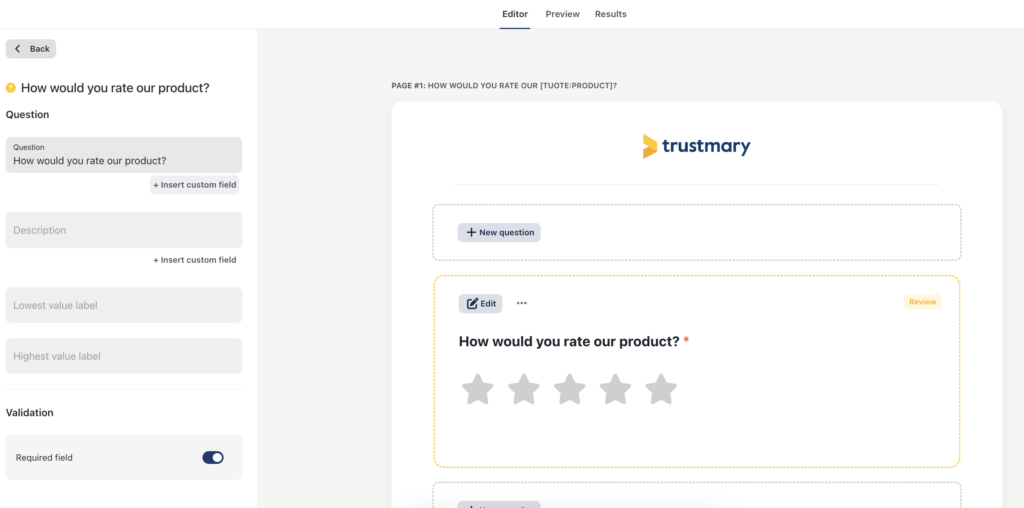
- Edit the question you want to work on.
- Click on "insert custom field" under the question field.
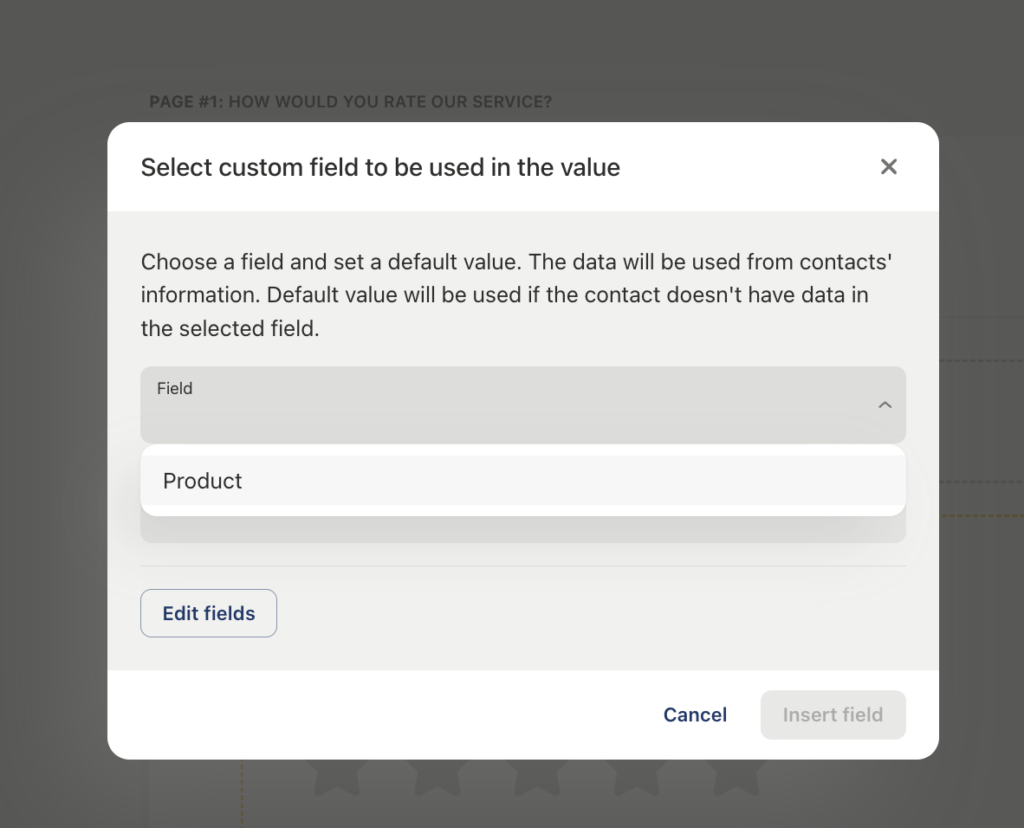
3. Choose the custom field you want to use.
(These will have to be created beforehand.)
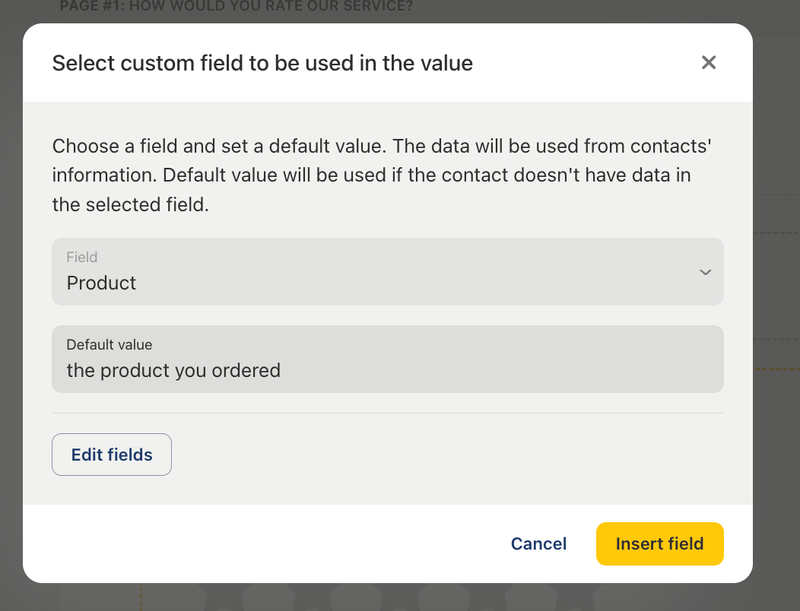
4. Create a default/setback value for it in case the custom field cannot be determined.
(If the custom field has been set correctly, the app will fetch the correct parameter. In case it is not set, you want to use a universal alternative as a backup plan.)
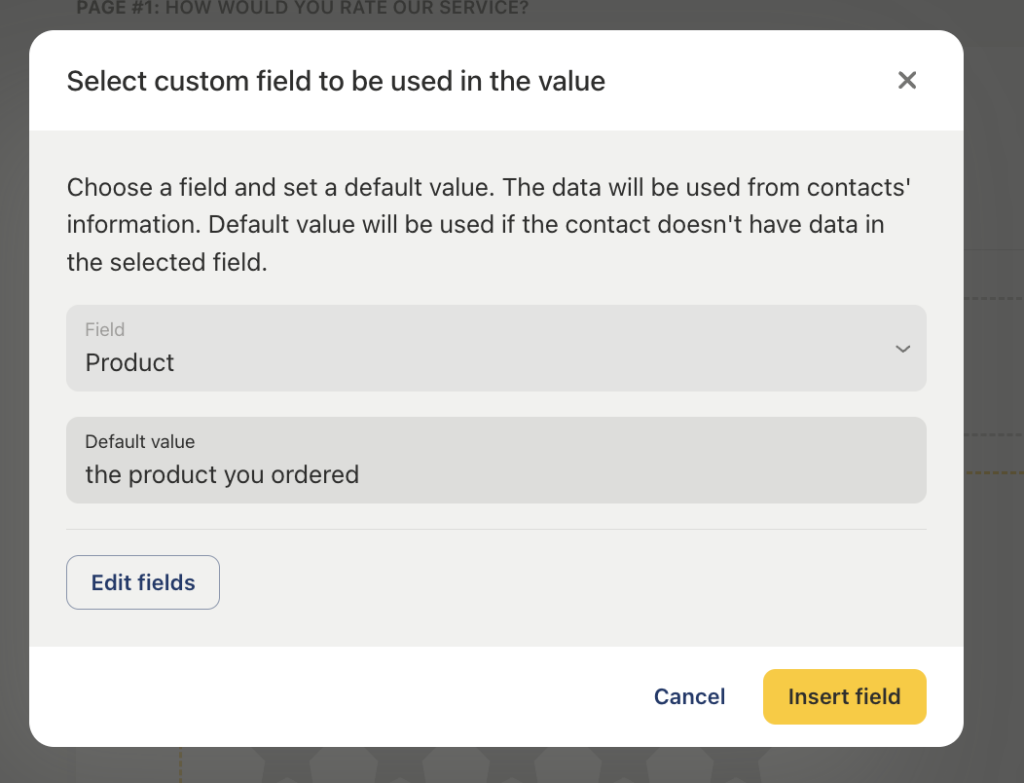
5. Click "Insert field".
Now you are done and can continue to sending.
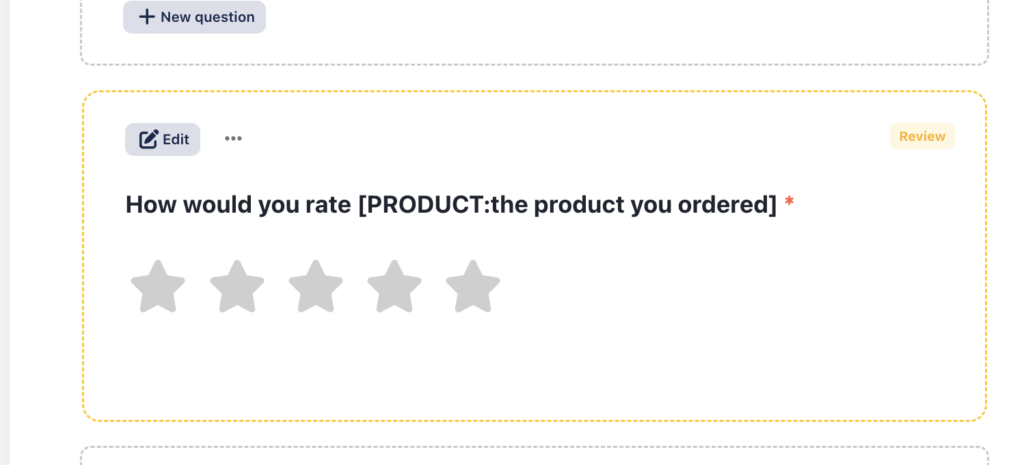
Custom Fields in Widgets
You can use custom fields to filter reviews in widgets.
This way you can create widgets that showcase reviews regarding a specific service, product, agent, location, or whatever parameters are important for your business.
You can already do this by manually tagging reviews with relevant keywords and using them as a filter, but custom fields can do all that automatically.
Here's how to do it:
- Create a widget.
2. Go to Filter reviews in the editor settings.
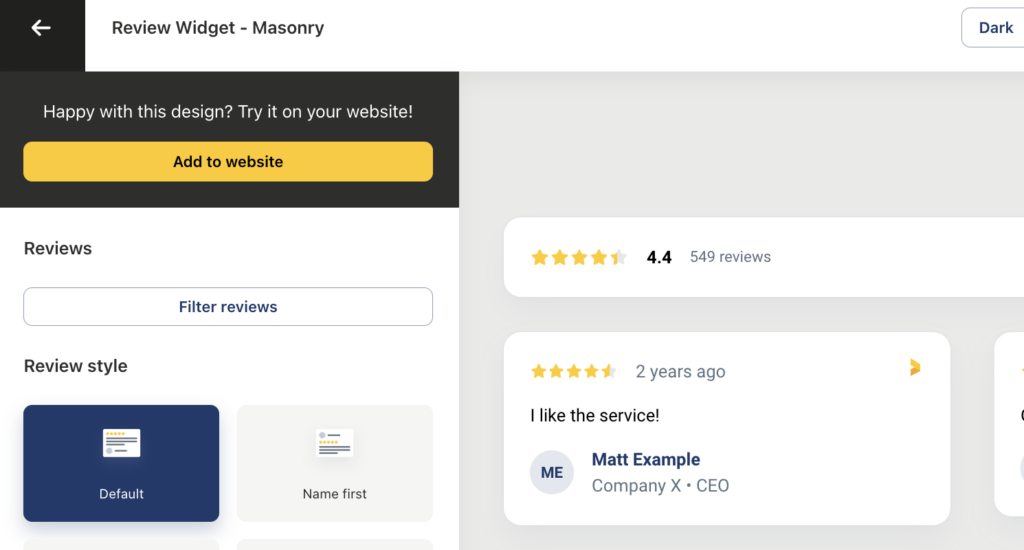
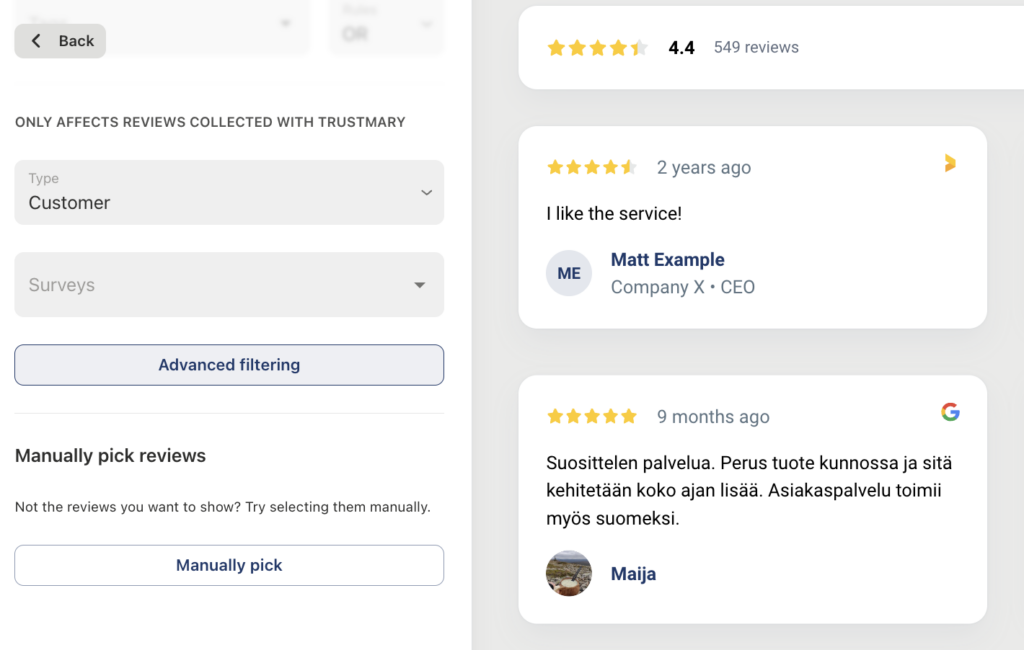
3. Scroll all the way down and click on Advanced filtering.
4. Choose the custom field you want to use as a parameter (like "Product" as we did in this example).
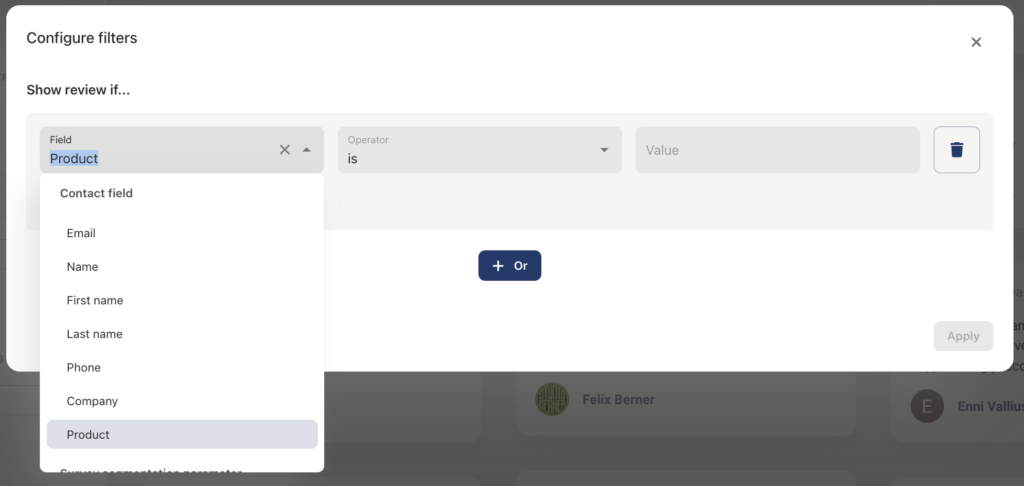
5. Determine the value of the parameter (e.g. the name of the product).
6. Hit "Apply".
7. Lastly, save the widget and add it to your website.
Now you have a specific review widget for a specific product or service!
Creating New Custom Fields
In order to use the custom fields, they have to be specified in the customer's contact information.
The surest way to do this is to build automation flows that mark the customer contact with the correct parameter from the get-go, but they can also be added manually.
Creating new custom fields can be tricky, which is why we encourage you to book a meeting with an expert to get it right.
